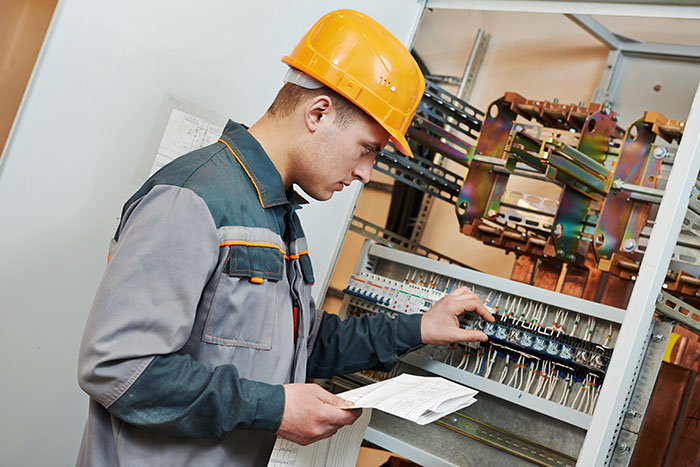
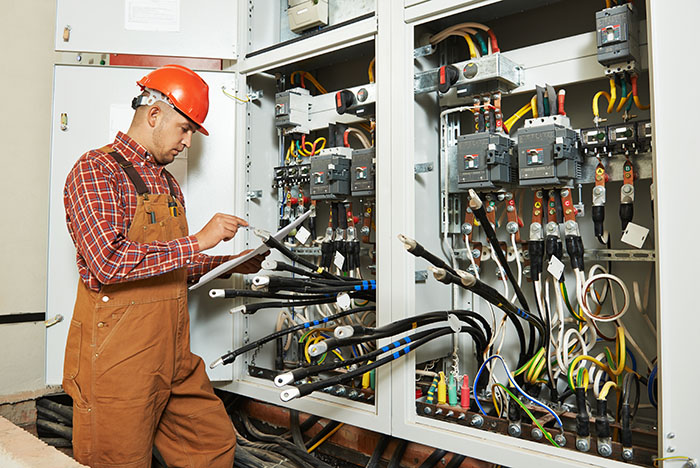
Although it can be advantageous to know how to wire a breaker box, and the process is fairly easy to learn, you should be aware of how dangerous this process can be. Accidents involving “contact with wiring, transformers, or other electrical components” are a leading cause of fatalities and injuries in the workplace.
No matter the amount of amperes that are associated with the breaker box in question, make sure that you follow the steps below carefully and do not feel afraid to call a properly trained electrician if you feel uncomfortable with any of the steps listed below.
1) Disconnect the electricity and gather the necessary equipment.
Before you even put your hands on any of the wires, you are going to want to disconnect the power at the meter loop. Once that is done, you will want to make sure that you have all the tools and equipment required to get the job done.
You will need a screwdriver, circuits, and breaks at the appropriate voltage; the cable to run to the breaker box from your main service panel; non-metallic connectors; the breaker box itself; pliers, wire strippers, and a utility knife if necessary; and a voltage tester.
2) Mount the breaker box.
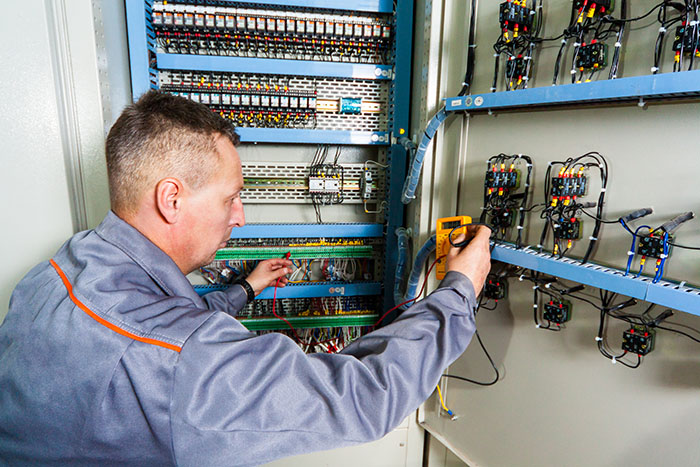
As a safety precaution, confirm that the power is turned off by using the voltage tester on each and every breaker. Everything needs to be completely dead.
If this is the case, you can carefully remove the existing breaker box and then mount the new breaker box using several screws on each side. If you screwed the screws in correctly, they should “bite” into the studs.
3) Put the main cable through the main and sub panels.
This requires you to calculate the length of cable needed to do so. In your calculations, leave enough room so that the cable can be pulled through to reach the side buses and the main switch. Make sure you connect a connector to the cable before you pull the cable through and pop off the knockout at the top of the main panel.
4) Slice open the cable.
You are going to see four different colored wires inside: The white wire goes to the neutral bus, the green wire will act as the ground, and the red and black wires are going to be your hot wires.
Take 0.5-1.0 inches of insulation from each of these wires, using the wire strippers, and do the following:
5) Connect the wires to their appropriate place.
The end of the white wire needs to go to the open terminal on the neutral bus bar, which will be the first side bus. The green wire should be connected to the ground bus, which will be the second side bus. The black wire should be inserted into the circuit breaker’s terminal, and the red wire into the second terminal.
When all of this is done, install the circuit breaker. This is done by slicing the end with the hot wire under the tab that corresponds to the hot bus bar. If you do this correctly, it will run down the panel’s center and you will be able to push the other end toward the neutral bus bar.
6) Reattach and test.
Put the cover back on firmly, turn the main power back on, and start testing each of the breakers. If everything went well, you should see current flowing through.
So, there you have it: a simple overview of how to wire a breaker box. There are more complicated steps that can be involved, but these are the fundamentals. Last, but not least, make sure that you purchase your circuit breakers from a reliable supplier!